Important Note: If this window is launched from the Unique files tab, then the functions in this window relate to files marked in the unique list. (Not duplicates).
Marked files information
Here is displayed the number of files currently marked (ticked) for removal in the Duplicate files list, along with the total marked file size.
This heading also specifies whether you are working on removing Duplicate or Unique files.
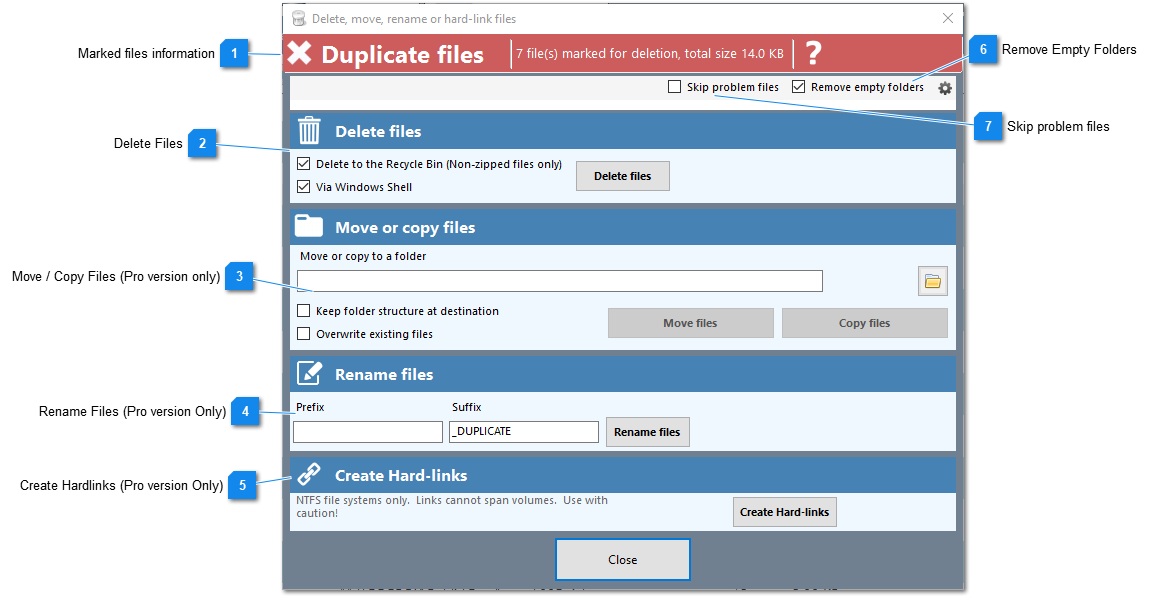
Here you can delete the files marked in the duplicate files list.
The files can be deleted to the recycle bin or permanently (careful with this one). Zipped files will be permanently deleted even if the Recycle option is checkmarked.
The 'Via Windows shell' option is the default. Files are deleted via Windows and will display the familiar progress graph and estimates. If there are problems with this you can uncheck this option and Duplicate Cleaner will remove the files directly.
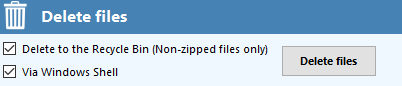
Here you can move or copy the files marked in the main duplicate files list. You need to specify a folder to move/copy them to.
You have the option of keeping the folder structure in the destination. This is recommended and will preserve the folder structure and is particularly useful if you have same-named files. Moving same-named files into one folder may result in data loss, so be careful.
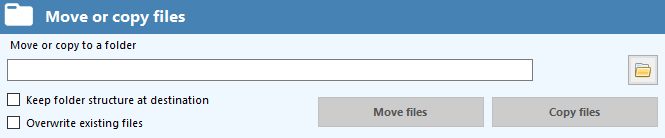
Here you can rename all marked files in the duplicate files list. You can add a prefix, suffix, or both. These renamed files could then be picked up in a windows search later on to do with as you wish.
Hard links are only recommended for advanced users.
A hard link is a directory entry for a file. Every file can be considered to have at least one hard link. On NTFS volumes, each file can have multiple hard links, and thus a single file can appear in many directories (or even in the same directory with different names). Because all of the links reference the same file, programs can open any of the links and modify the file. A file is deleted from the file system only after all links to it have been deleted. After you create a hard link, programs can use it like any other file name.
You can only create hard links on NTFS volumes. You cannot create hard links between volumes (different hard drives or network shares). Duplicate Cleaner will only let you hard link same content files.
When creating Hard Links there needs to be at least one file in each duplicate group left unticked. This will be the 'original' file to which the other ticked files in the group are linked. Once linked there will appear to be no difference between the linked file and the original in Windows Explorer. In addition, hard linked files will appear again as duplicates if you re-scan, unless you have the 'Exclude hard linked files from duplicate list' menu option checked.
When this option is checked, any of the above operations which involve moving/deleting files will have their empty folder structures removed after the operation.
During a removal operation, the system may occasionally prompt you for action if it comes across a problem file (for instance, you are trying to deleting a file that is locked because it is open in another program). This option will simply skip any of these files and report them at the end.